This guide is asimplified version, which aims to let you quickly understand the recording rules and important matters. For more detailed guide, please download: apachecon_full_recording_guide
Step 1: Make a a presentation slide
Please use the official template for PPT making. PPT template download:
- Keynote recording time is not more than 30 minute. It is recommended that you limit your presentation to 25 minutes, taking into account overtures and Q&A.
- Session recording time is not more than 40 minute. It is recommended that you limit your presentation to 35 minutes, taking into account overtures and Q&A.
Step 2: Equipment/environment preparation before recording
Pay attention to 5 key points:
- Computer resolution 1920x1080 in accordance with the aspect ratio Windows (16:9) or Mac (16:10)
- Close all irrelevant software or windows in advance, especially those with pop-up windows, to ensure that there is no personal or business privacy information on the desktop or relevant interface, and no other third-party logo
- To share the code, it is recommended that:
- Increase the font size, the standard is when the code editor is set to full screen, the code behavior is 20-22 lines
- IDE can only use white background or black background
- A good appearance. If earphones are needed, earmuffs are not recommended. Please use wireless earphones as much as possible.
- Please record your video in a quiet environment like a conference room or negotiate with the people around in advance to make sure there is no noise, personnel interference, frequent personnel walking and so on during the recording.
Step 3: Rehearse before recording
- It is recommended that you carry out several rehearsals before the official recording, with the slides file for the presentation, to repeat the incoherent and un-fluent parts of it, and to revise the slides in time if there are any logical irregularities or mistakes.
- f it is possible, we suggest that you ask your colleagues, family members or even professionals to rehearse twice and ask them to give some advice as audiences.
- Before the official recording, you can simply record a paragraph and check the effect first:whether the output is correct, whether the voice is normal and whether the image and temperament are good. These are very important, please make sure all of these problems before it is all done
Step 4: Official recording
4.1 Basic rules
-
Keep your upper body properly in the middle of the screen, not too close or too far, such as the face close to the screen, the screen is almost occupied by the face, or all above your knees are in the screen.
-
During the speech, make your eyes pay attention to the direction of the camera and have the feeling of looking at the audience.
-
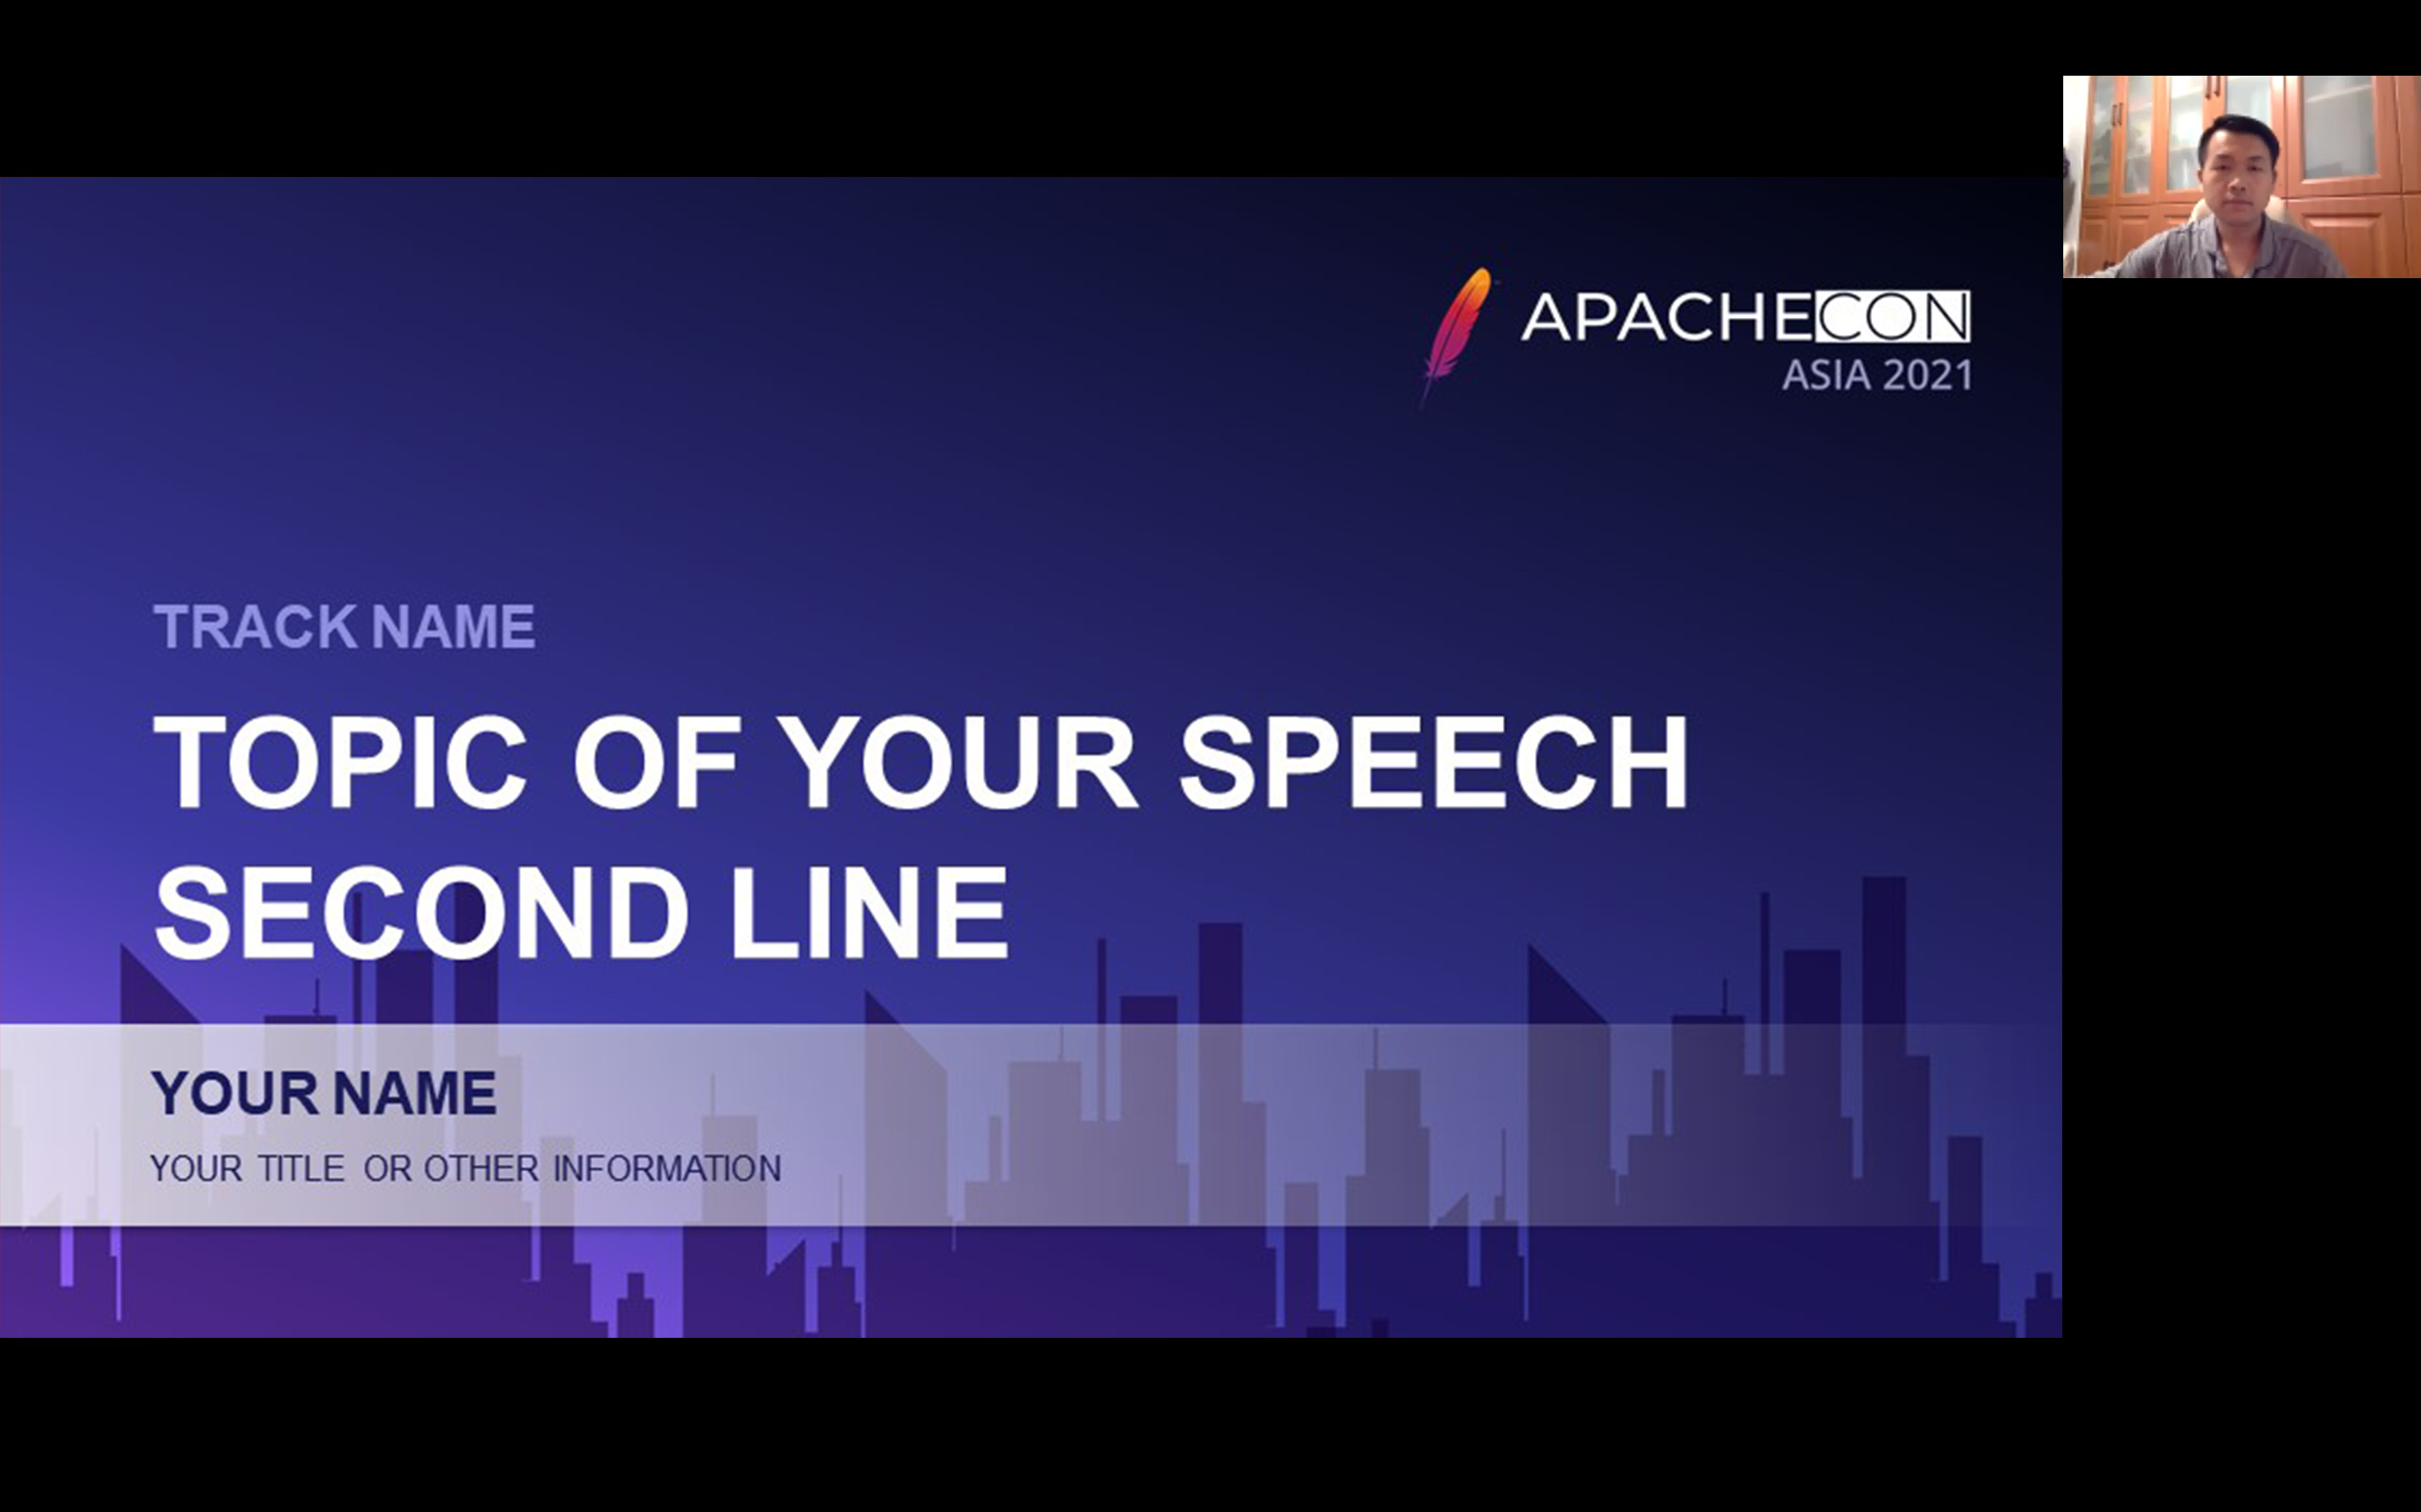
During the recording, your materials should be displayed on the full screen, and your own avatars should be displayed on the small screen in the upper right corner. If there are other participants, please hide them (if others do not open the video, please go to “Settings” >“Video” >“Meeting”,select “Hide Non-video Participants"to hide participants who do not use video).
The final effect can be as follows in two ways:

-
Because there is no audience interaction, you could not get the feedback like live speech, so you must always pay attention to your voice-speed, rhythm and passion.
-
Grasp the time. Please complete within the specified time.
4.2 Recording tools
We recommend using ZOOM to recording, for the ZOOM tutorial, see the download file in this articl head/end.
It will be okay if you have other tools that can achieve the similar effect.
Step5: Pre-delivery check
- Name the video in the following format: Your name-Topicof your speech-Name of Track (e.g. JunxuChen- Speed limiting with Apache APISIX - API/Microservice)
- Check the sound quality, there can be a current floor noise, but no obvious noise (e.g. flipping books, dragging chairs, car horns, birds chirping, etc.)
- Check that the picture is 1920x1080 pixels and that the ratio is windows 16:9 or mac 16:10.
- The video frame rate is not less than 30fps (right click on the mouse and check “Details” in “Properties”) and the picture must not be jagged or faint.
Step 6: Video delivery
Once the self-test properties are met, please upload the video to a web drive and deliver the recorded file to Track Chair by sharing the link.
Track Chair will provide you with feedback on any problems with the video, so please correct them if necessary.
For more detailed guide, please download: apachecon_full_recording_guide

